Machine embroidery can transform ordinary fabric into extraordinary works of art, but achieving flawless results starts with proper hooping techniques. In this comprehensive guide, we'll explore the essential steps and tips for hooping fabric to ensure perfect machine embroidery every time.
1. Introduction to Hooping for Machine Embroidery
Hooping is a crucial step in the embroidery process that can make or break your final product. Proper hooping ensures that your fabric remains taut and stable during stitching, preventing issues like puckering, misalignment, and distorted designs.
Why Proper Hooping Matters
- Ensures even tension across the fabric
- Prevents fabric shifting during embroidery
- Leads to crisp, clean designs with accurate registration
- Reduces the risk of puckering and distortion
Before we dive into the hooping process, let's review the key items you'll need:
- Embroidery hoop (appropriate size for your design)
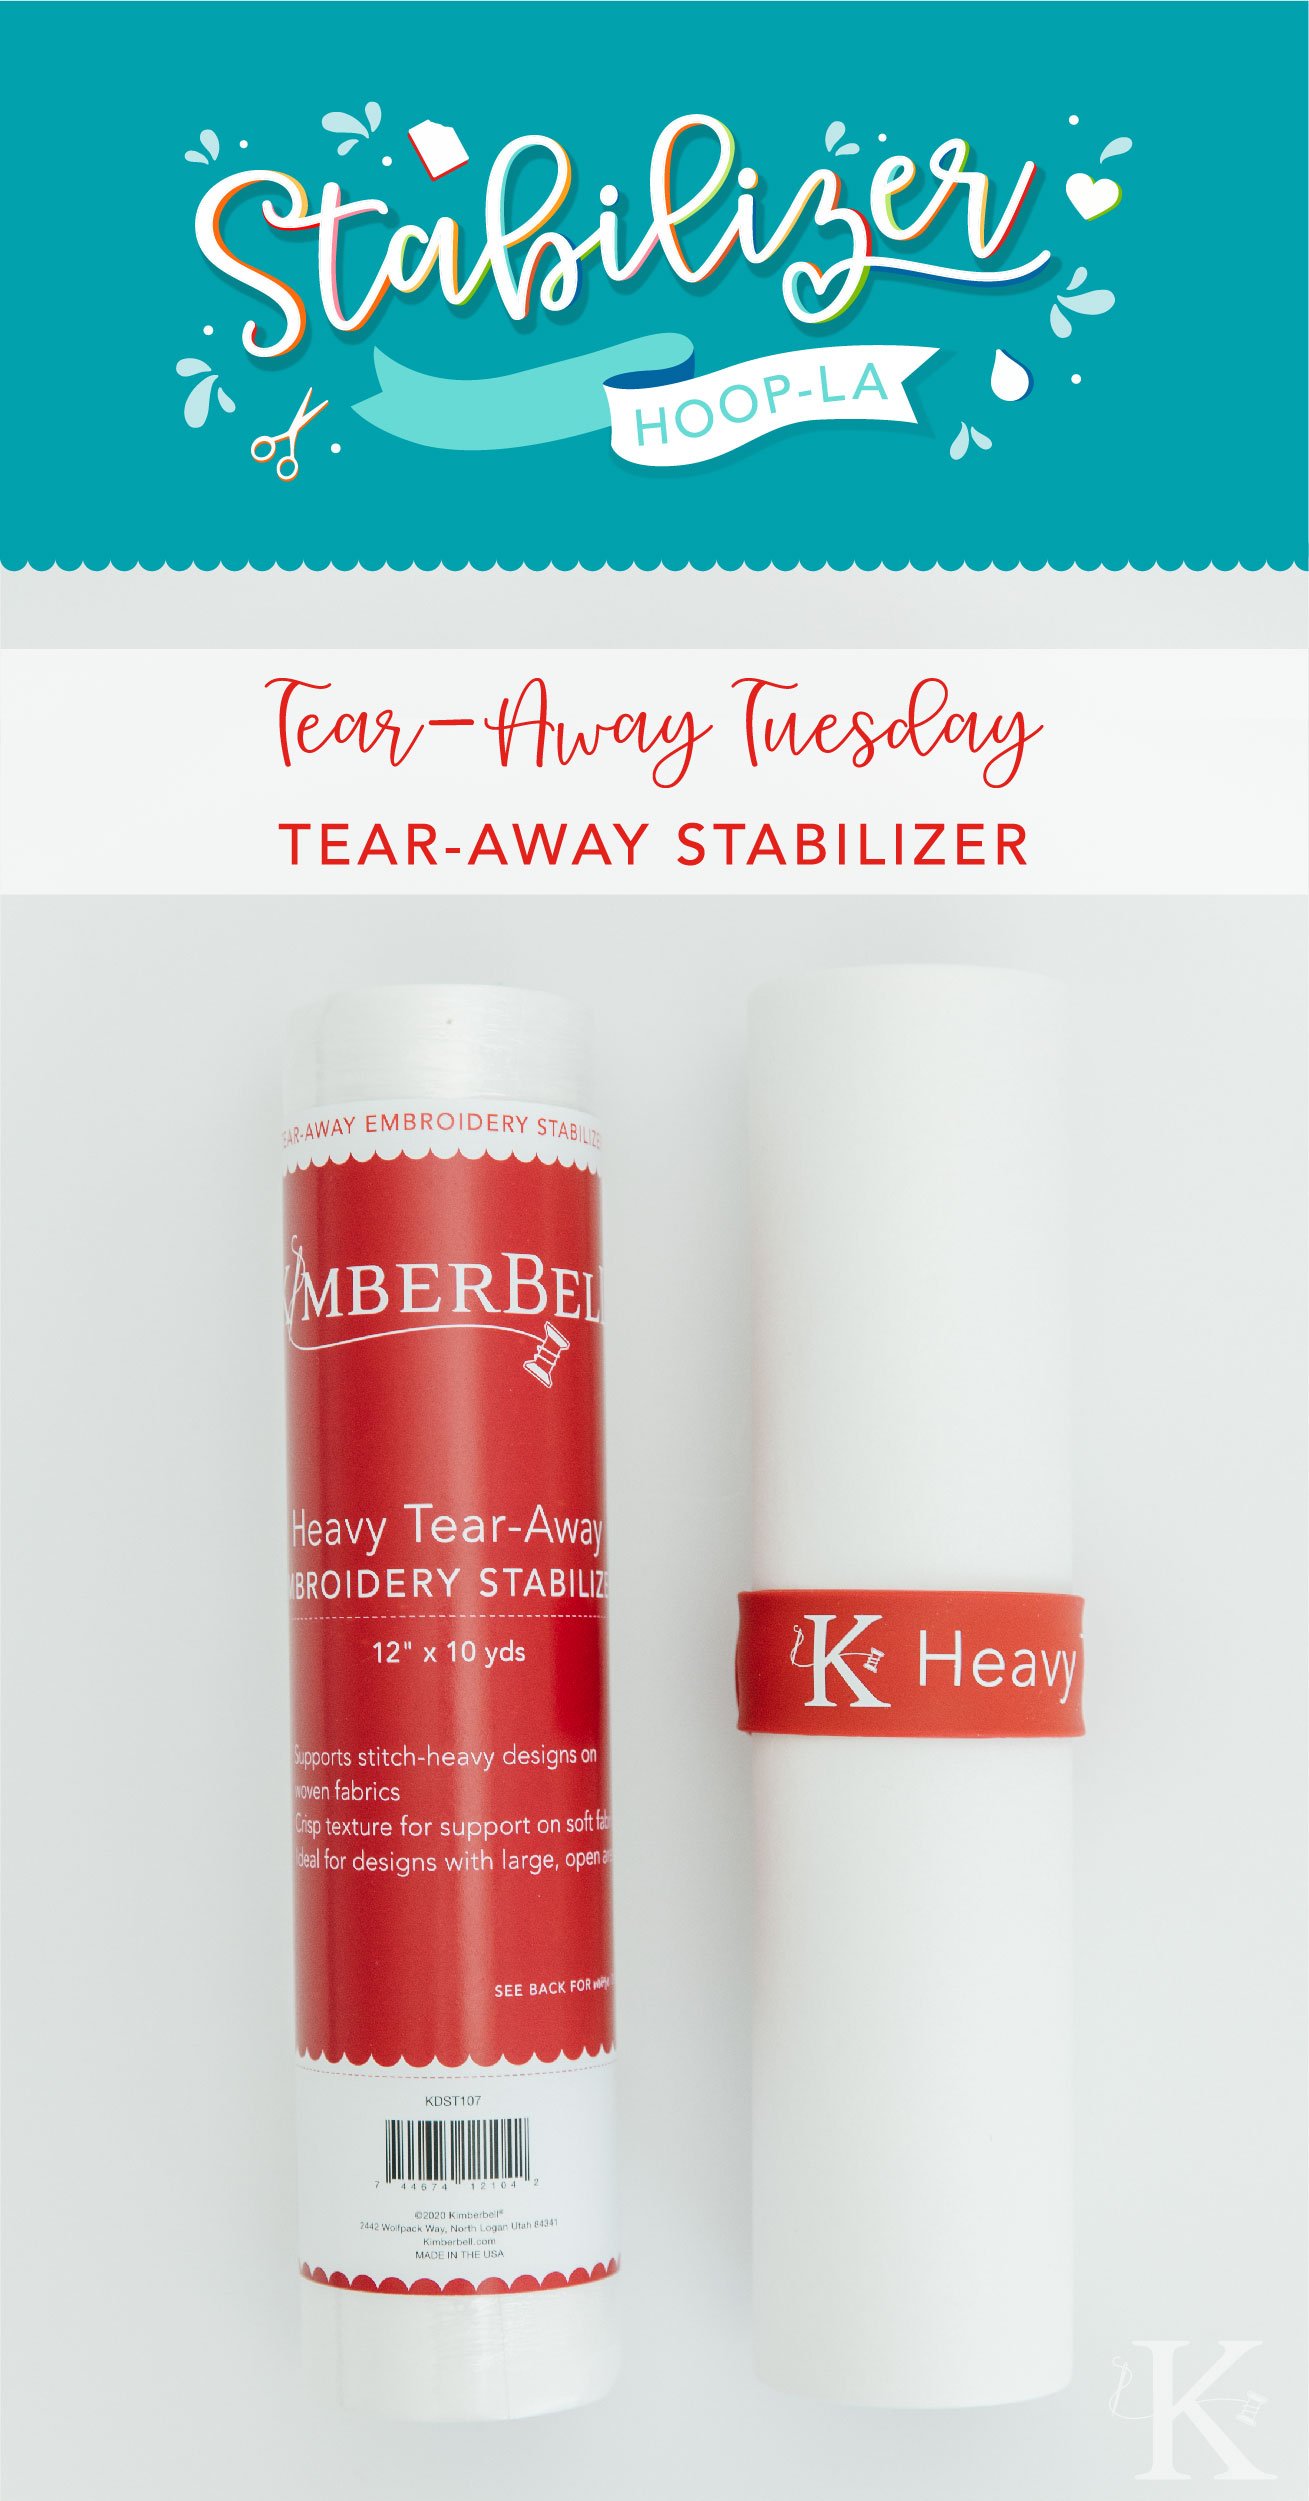
- Stabilizer (cutaway, tearaway, or water-soluble)
- Fabric marking tools (water-soluble pen or chalk)
- Temporary adhesive spray (optional)
- Hooping aid or station (optional)
Choosing the Right Hoop
Selecting the correct hoop size is crucial for achieving optimal results. The MaggieFrame magnetic hoop system offers a versatile solution that works well with various fabric types and project sizes. These innovative hoops use strong magnets to secure fabric, providing even tension and reducing the risk of hoop burn.
3. Preparing Your Fabric and Workspace
Before hooping, take these important preparatory steps:
- Iron your fabric to remove any wrinkles or creases
- Clean your work surface and ensure it's stable and flat
- Choose the appropriate stabilizer for your fabric and design
- Mark the center point of your embroidery area on the fabric
4. Step-by-Step Guide to Basic Hooping Technique
Follow these steps for a successful hooping process:
- Loosen the outer hoop slightly
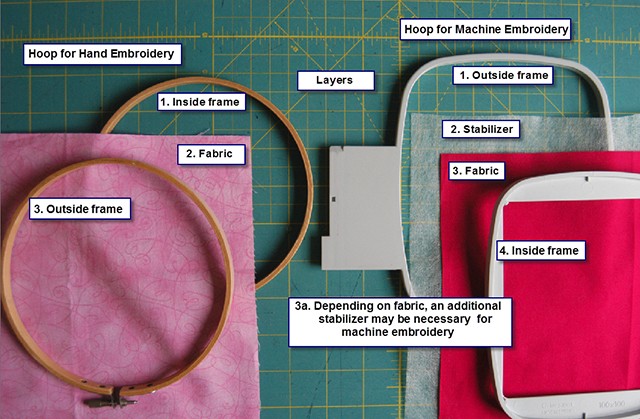
- Place the stabilizer on the bottom hoop
- Position the fabric over the stabilizer, aligning your center marks
- Place the inner hoop on top, pressing it firmly into place
- Gently pull the fabric taut from all sides, ensuring it's smooth but not stretched
- Tighten the outer hoop screw until the fabric is drum-tight
Tips for Achieving the Perfect "Drum-Tight" Effect
- Use even pressure when pushing the inner hoop into place
- Pull fabric from opposite sides simultaneously to maintain balance
- Avoid over-tightening, which can stretch or distort the fabric
5. Advanced Hooping Techniques for Different Fabrics and Projects
Different fabrics and projects may require special hooping techniques:
Hooping Stretchy or Delicate Fabrics
- Use a cutaway stabilizer for added support
- Consider floating the fabric on hooped stabilizer
- Employ temporary adhesive spray to minimize fabric manipulation

- Choose a hoop with deeper sides to accommodate thickness
- Use a heavy-duty stabilizer or multiple layers
- Consider using basting stitches to secure fabric to stabilizer
- Utilize the floating method with hooped stabilizer
- Use temporary adhesive or pins to secure the item
- Consider specialty hoops designed for small or unique projects
6. Using Magnetic Hoops for Easier and More Precise Embroidery
Magnetic hoops like the MaggieFrame system offer several advantages:
- Faster and easier hooping process
- Even tension across the entire hooping area
- Reduced risk of hoop burn or fabric damage
- Ideal for difficult-to-hoop items
- Place the bottom magnetic frame on a flat surface
- Position your fabric and stabilizer over the frame
- Carefully lower the top magnetic frame, allowing it to snap into place
- Gently adjust the fabric if needed to ensure proper tension

7. Troubleshooting Common Hooping Problems
Even experienced embroiderers encounter hooping issues. Here's how to address some common problems:
- Use a lighter touch when tightening the hoop
- Try wrapping the inner hoop with twill tape
- Consider using a magnetic hoop to reduce pressure on fabric
- Double-check hoop tension before starting
- Use additional stabilizer or adhesive spray
- Consider basting or pinning fabric to stabilizer
- Practice your hooping technique regularly
- Invest in quality hoops and stabilizers
- Use hooping aids or stations for precise placement
By mastering these hooping techniques and utilizing innovative tools like the MaggieFrame magnetic hoop system, you'll be well on your way to achieving perfect machine embroidery results. Remember that practice makes perfect, and don't be afraid to experiment with different methods to find what works best for your specific projects and materials.
With proper hooping, your embroidery designs will come to life with crisp, clean stitches and professional-looking results. Happy stitching!


